


The first thing that you’ll need is a drafting table. This is where all the magic happens! A good drafting table should be adjustable so that it can accommodate different sizes of paper. It should also have a flat surface that allows for easy maneuverability when drawing. A good quality drafting table can be expensive, but it’s worth the investment if you’re serious about designing dresses.
Once you have your drafting table set up, it’s time to gather your materials. The most important tool for sketching any dress is the pencil. You'll want to invest in some quality graphite pencils, like Faber-Castell 9000 or Derwent Graphic series. Also a good quality mechanical pencil with HB lead will allow for precise lines and details when sketching out your designs. Other essential supplies include an eraser/kneaded eraser (for making corrections), blending stump, ruler (for measuring proportions), sharpener and tracing paper (for tracing patterns). Additionally, quality colored pencils are great for adding color or texture to your sketches.
Last but not least, you’ll need fabric swatches or pictures of fabrics that inspire your dress designs. Fabric swatches will give you an idea of how certain fabrics look and feel before committing to using them in your creation while pictures of fabric can provide inspiration when choosing colors and patterns.
Light and shadow are two of the most important elements of pencil sketching. When shading your sketches, understanding how light interacts with different surface textures can help you draw realistic objects that look three-dimensional on paper. Pay attention to where light comes from and how it affects shadows on different surfaces; this will help create more realistic drawings with depth and dimension.
How To Draw A Dress: Creating Texture
Creating texture through hatching and crosshatching is another important concept for creating lifelike drawings. Hatching involves drawing parallel lines close together in one direction while crosshatching involves drawing two sets of lines at right angles to each other to create a mesh-like texture in your sketches. Varying the pressure on your pencil while applying these techniques will also help create interesting textures in your drawings.
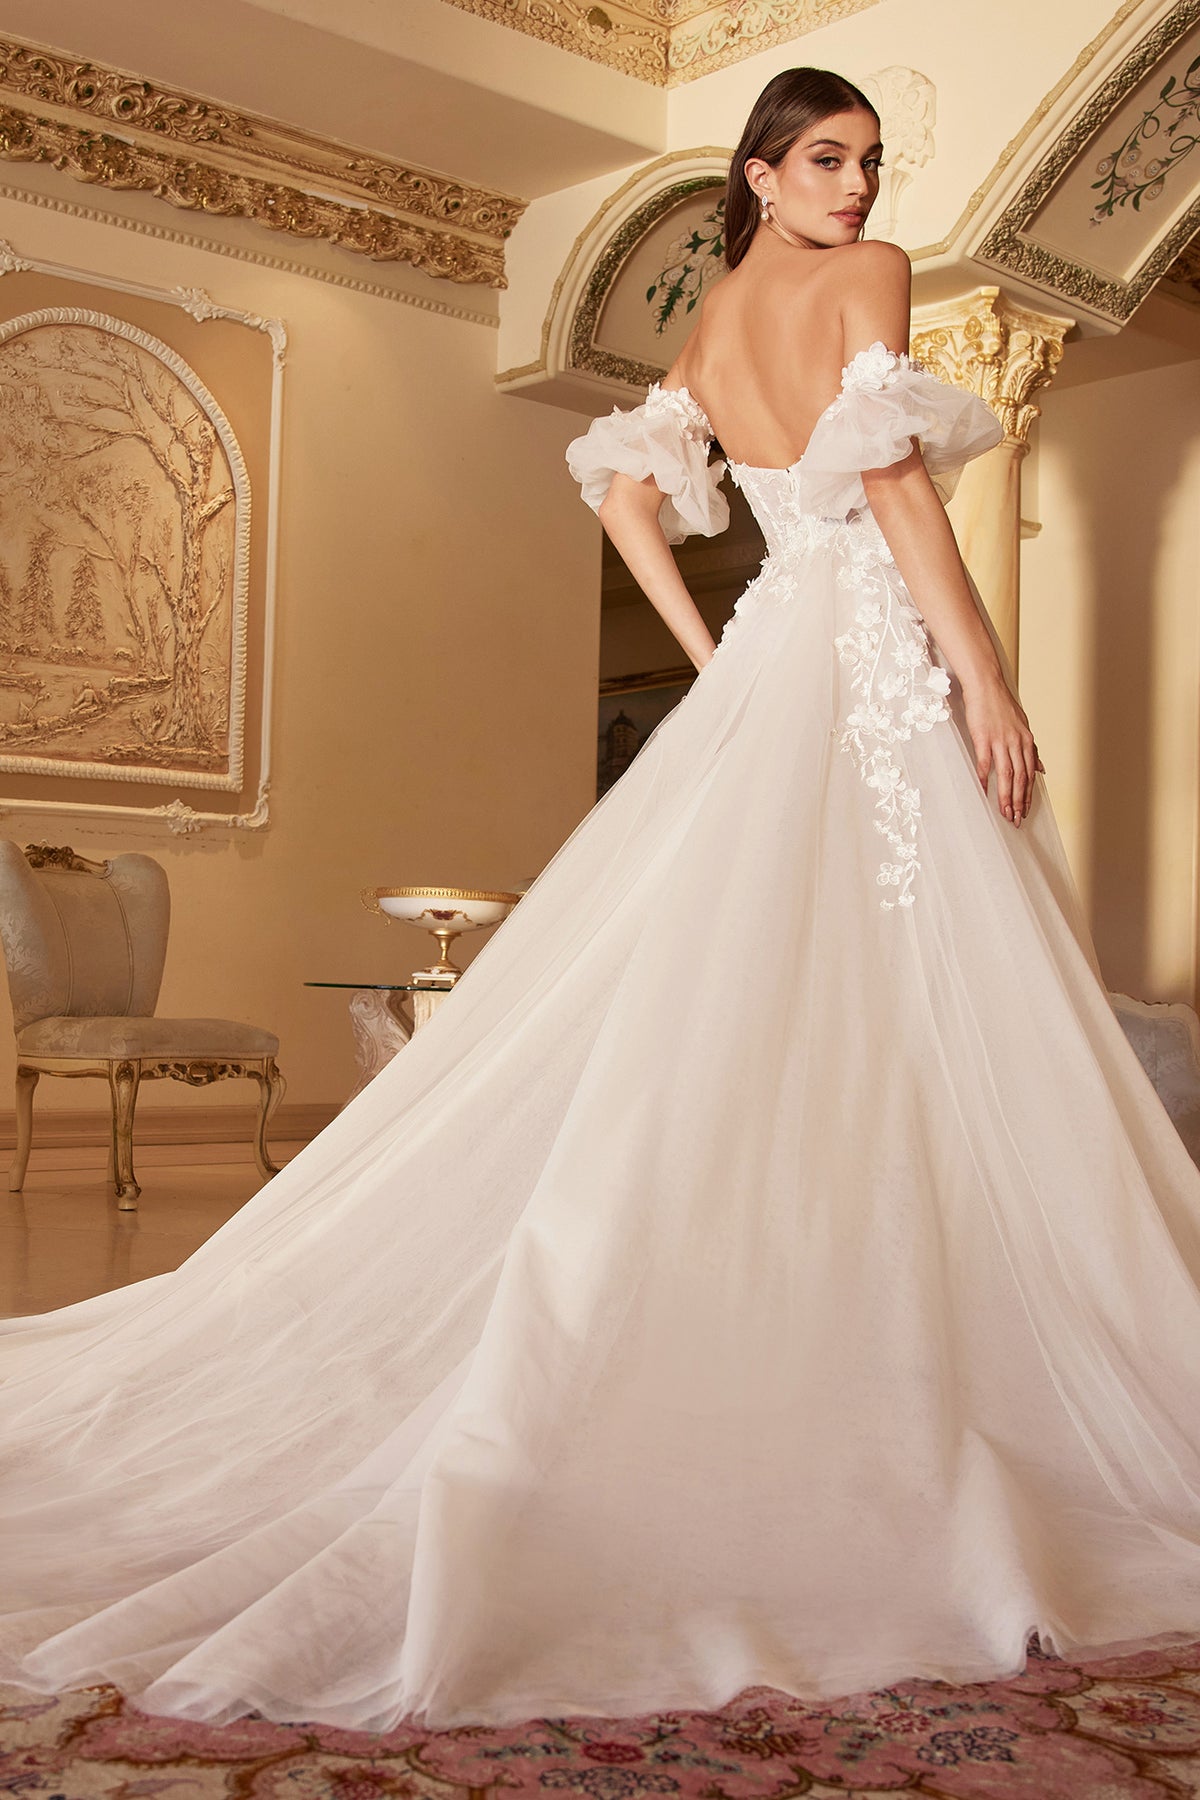
Once you have your materials, understand the concepts of light and shadow & texture, start by sketching out the basic shape of the dress with light lines. Then add details like ruffles, straps, waistlines and zippers as desired. Once you have the basic outline down, you can begin defining the shadows and highlights for added depth. Remember to keep your strokes light and gentle until you’ve got your desired look. Here are some essential sketching tips:
Check Out These Articles You May Like:
A Guide to Women's Dress Styles in the US
What To Look For In A Formal Dress Code
How Much Does A Quinceanera Cost: A Detailed Breakdown
What to Wear to a Quinceanera: A Guide for Guests
Top 10 Thoughtful Bridesmaid Gift Ideas
Bridesmaid Hairstyles What You Need To Know
What To Wear To Prom? How To Look Good On Prom Night
What Is Vintage Clothing? All You Need To Know.
What Is My Clothing Style? How To Express Yourself Through Clothes.
How to Get Ink Out of Clothing: A Helpful, Step-by-Step Guide
How Much Do Fashion Designers Make?
How to Measure Dress Size: A Comprehensive Guide
What is a Corset Dress? An Introduction to the Timeless Fashion Trend
The Trendiest Accessories to Wear to Prom 2024
The Iconic Marilyn Monroe Dress: A Brief History
How to Wear Dresses in Winter and Look Fabulous!
A Look At Medieval Women's Clothing & Dresses
1930's Women's Fashion: What Were They Wearing?
1940s Women’s Fashion: What Were They Wearing?
What Is Y2K Fashion? What You Need To Know!
How To Make A Dress in 10 Easy Steps!
What is a Communion Dress? Everything You Need to Know
When Is New York Fashion Week? What You Need To Know!
How To Pick Bridesmaid Dresses
What to Wear for a Beach Wedding?
How To Shop For Wedding Dresses
How To Accessorize A Navy Blue Dress For A Wedding
How To Pack Dresses For Travel
A Guide to Planning the Perfect Prom Night
What Is Prom? Everything You Need To Know.
What Does Petite Mean In Clothing?
How to Get Grease Stains Out of Clothes - The 2 Best Methods
How to remove gum from clothing (the easy way)
What Is Fashion? The Many Definitions.
How To Accessorize A Royal Blue Dress
What Is A Quinceanera? Everything You Need To Know!
What Color Shoes To Wear With A Red Dress?
Top 10 Wedding Guest Dress Trends For 2023
Top 10 Wedding Dress Trends For 2023
Top 10 Grade 8 Graduation Dress Trends for 2023
Top 10 Bridesmaid Dress Trends for 2023
Top 10 Prom Dress Trends For 2024
So You Want to Be a Fashion Designer? Here’s What You Need to Know.
How To Become A Fashion Influencer
How To Accessorize Your Prom Dress
How To Become A Fashion Stylist
How To Wear Necklaces With Dresses
How To Accessorize A Pink Prom Dress
How To Find Your Fashion Style
What Is Smart Casual Dress Code?


0 comments